So, you're looking at your driveway, maybe it's all cracked up, or you're building a new place and need a fresh surface. Driveway paving can feel like a huge job, and it definitely is, but not every part of it is out of your hands. I've seen folks try to tackle the whole thing themselves and end up with a real mess, and then I've seen others do a fantastic job getting things ready for us. Let's dig into what you really need to know before, during, and after the asphalt gets laid down.
Before the Paving Crew Shows Up: Your Homework
This is your chance to save some money and really impact the final product. A solid foundation is absolutely everything for a driveway that lasts, especially with our Montgomery clay soil, which, let's be honest, loves to shift and swell. You wouldn't build a house on quicksand, right? It's the same principle here.
- Clear the Area: Get rid of any old asphalt, concrete, or gravel. If you're doing a full replacement, that means breaking up the old stuff. You can rent a jackhammer or a small excavator for this kind of work. Just make sure you know exactly where your utility lines are buried before you start digging. Call 811 – it's free, and it'll save you a massive headache (and maybe even your life).
- Grading and Drainage: This is probably the most crucial DIY step you'll take. You've got to make sure water flows away from your house, not toward it, and certainly not pooling on the driveway itself. We get some serious downpours here in Alabama, and standing water is the absolute enemy of asphalt. You'll want a slight slope, usually around a 1-2% grade. You can use stakes and string to check your levels. If you're not confident with this part, honestly, just call a pro for the grading alone. It's that important.
- Sub-base Prep: Once your grade is all set, you'll need a good, compacted sub-base. This is typically crushed aggregate or gravel. Spread it out evenly, usually 4-8 inches thick, depending on how much traffic you expect (are we talking a compact car or an RV here?). Then, compact it like crazy. You can rent a plate compactor or a roller for this. The more compacted it is, the better your driveway will hold up. Don't skip this step. I've seen driveways fail in just a couple of years because the sub-base wasn't done right.
- Edging: Think about what you want around the edges of your driveway. Will it be concrete curbing, pavers, or just a clean edge into the grass? Planning this now helps us lay the asphalt correctly when we get there.
During the Paving Project: Time to Step Back
Alright, so you've done your homework. You've cleared, graded, and compacted everything. Now's the time when you really need the professionals. Laying asphalt isn't a DIY job, not if you want it to last and look good. You need specialized equipment, skilled operators, and the right materials, plain and simple.
When Quantum Asphalt Solutions comes out, we're bringing the heavy machinery: pavers, rollers, dump trucks full of hot asphalt mix. We're talking about precise temperatures, consistent thickness, and proper compaction. It's a bit of a dance, really, one that takes years to master. You'll see us:
- Spreading the hot asphalt evenly across the surface.
- Compacting it in layers to get the right density and a smooth finish.
- Making sure those edges are clean and tight.
Your job during this phase? Stay out of the way, keep pets and kids clear, and let us do what we do best. Ask questions if you have 'em, but trust the process. We're working with a material that cools fast, so efficiency is key.
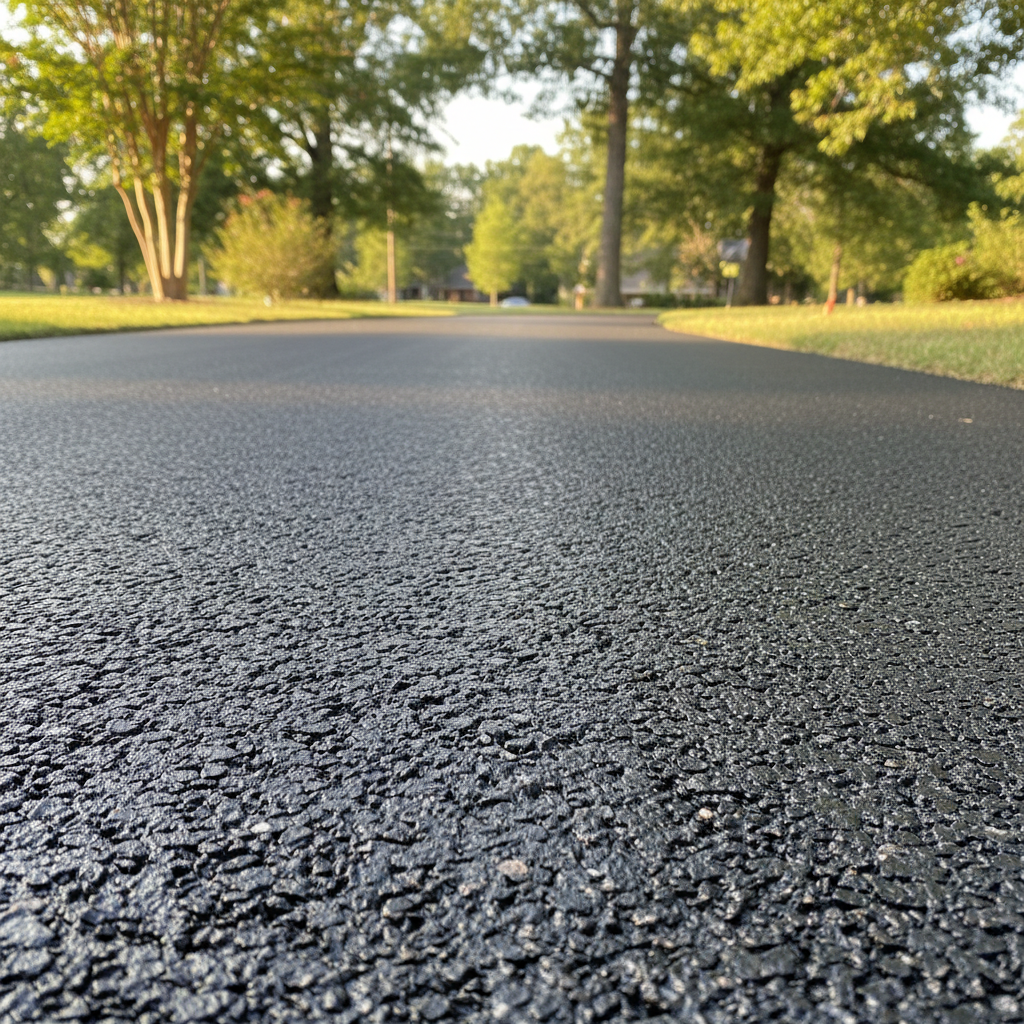
After the Asphalt is Down: Care and Feeding
The hard part's over, but you're not quite done yet. The first few days and weeks are absolutely crucial for your new driveway's longevity.
- Stay Off It: This is the big one. We'll tell you exactly how long, but generally, stay off the fresh asphalt for at least 24-72 hours, sometimes even longer if it's really hot out. Parking heavy vehicles too soon can create ruts and indentations that'll be there forever.
- Avoid Sharp Turns: For the first few weeks, try not to turn your steering wheel sharply while your vehicle is stationary. This is called power steering scuffing, and it can twist and damage the still-curing asphalt. Make sure your car is moving before you turn the wheel.
- No Heavy Point Loads: Don't park trailers with kickstands, heavy equipment, or anything that puts a lot of weight on a small area for at least a month. Same goes for those little plastic feet on your lawn chairs – they can leave impressions, believe it or not.
- Sealcoating (Later): While not immediately after, plan on sealcoating your driveway within 6-12 months of installation, and then every 2-3 years after that. This protects the asphalt from UV rays, water, and chemicals, significantly extending its life. Think of it like sunscreen for your driveway.
Look, a well-paved driveway isn't just about curb appeal; it's a real investment in your home. Doing the right prep work yourself can save you some cash, but knowing when to call in a professional for the actual paving is critical. If you're in the Montgomery area and have questions about your specific project, don't hesitate to give us a shout at Quantum Asphalt Solutions. We're here to help you get a driveway that lasts.